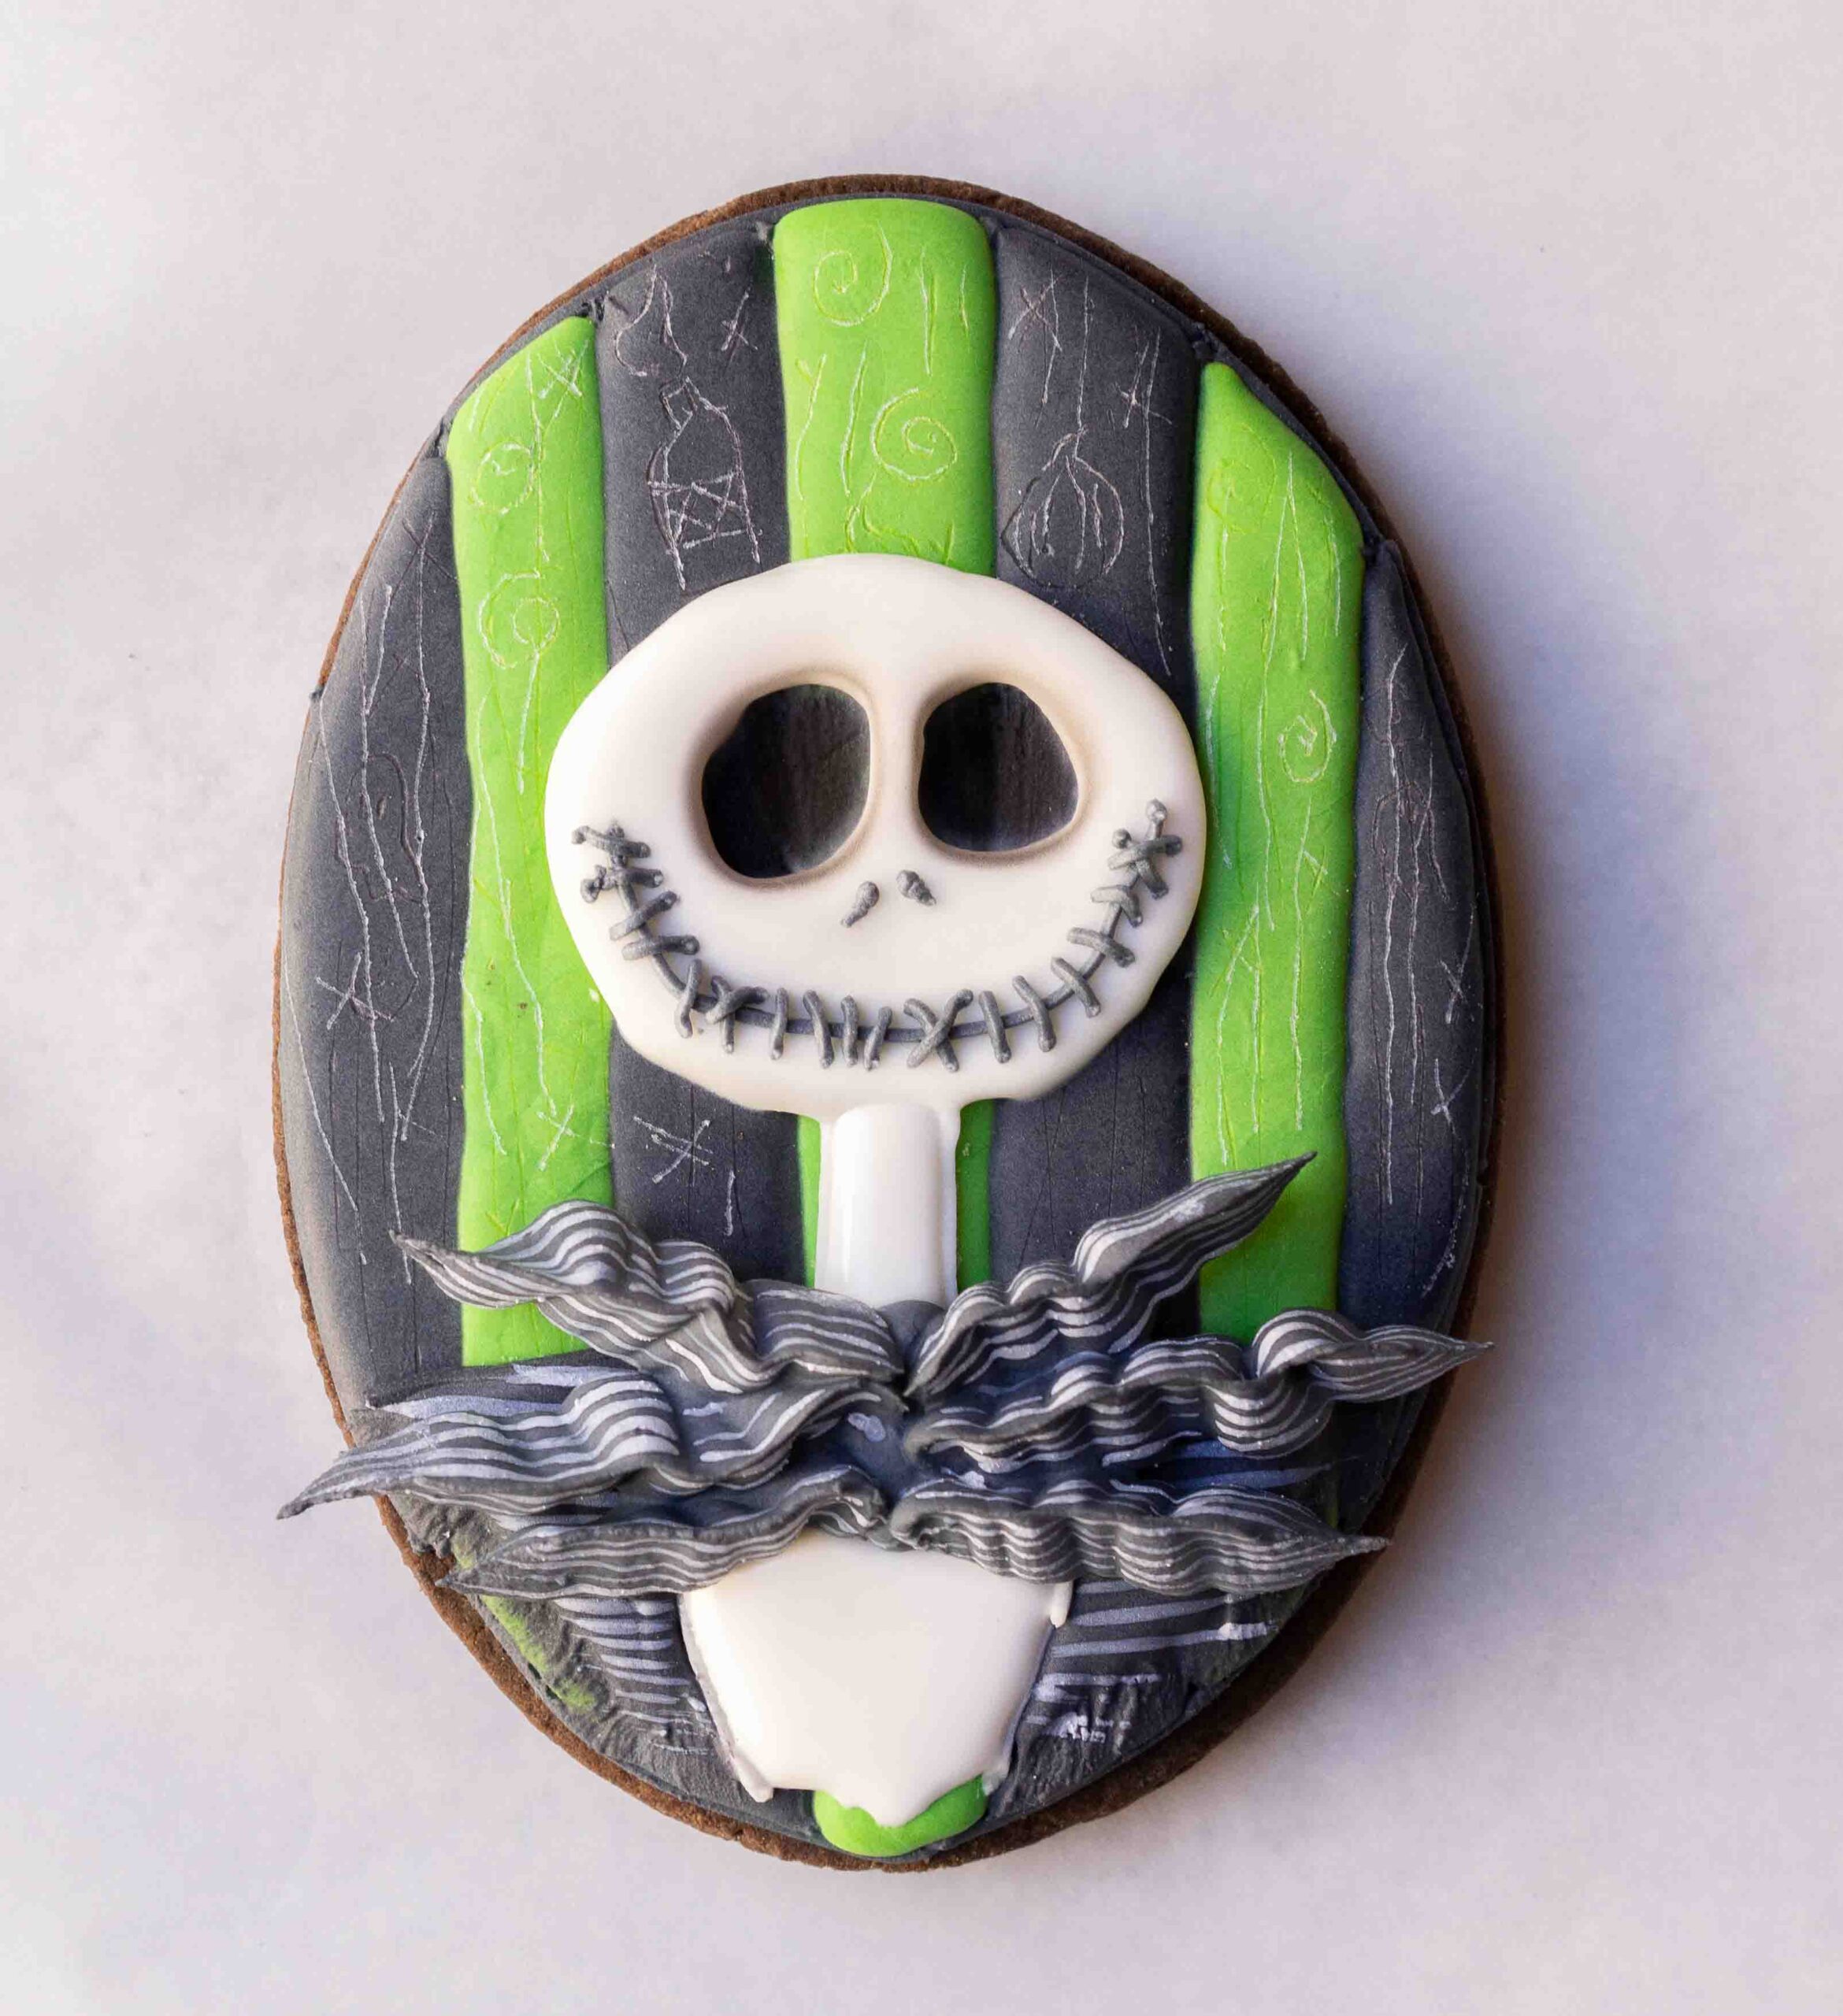
Time to make a Nightmare Before Christmas dessert! This tutorial is easy and will wow the crowd for any spooky gathering you share this with.
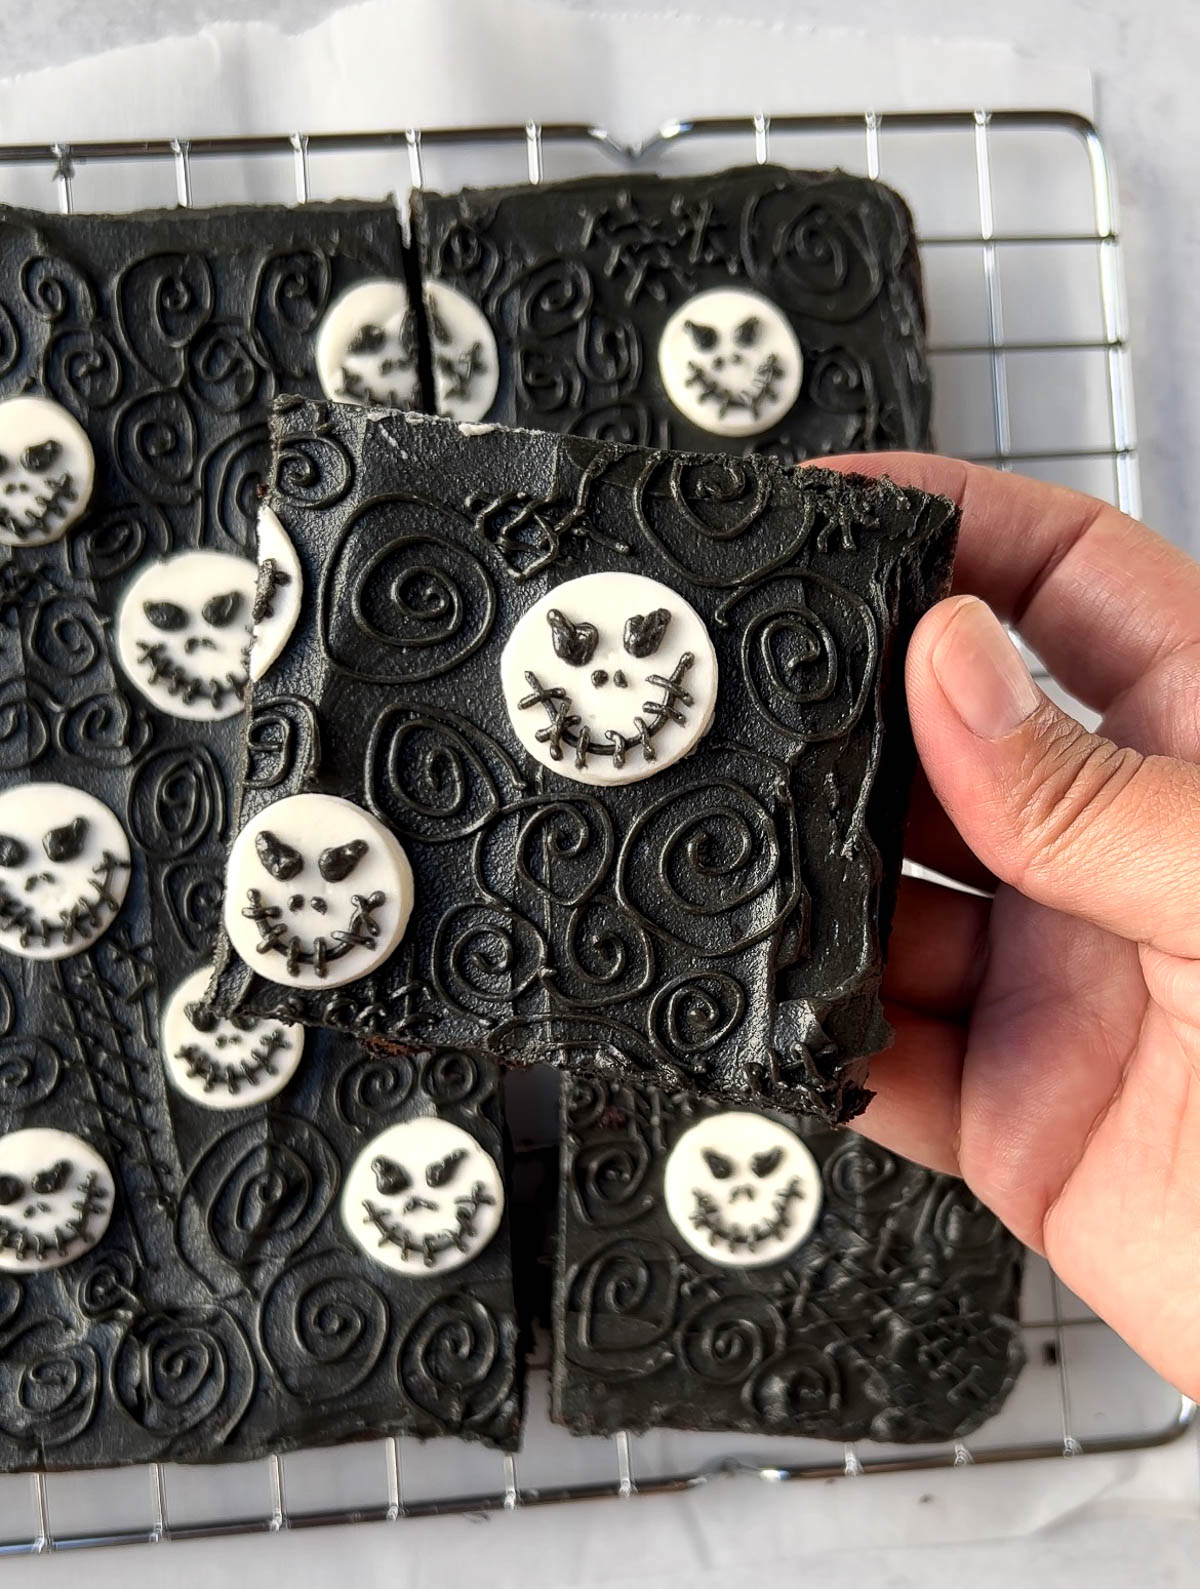
Halloween season always means one thing for me - The Nightmare Before Christmas. Whether it be watching the movie, listening to the music or creating NBC themed desserts, you will always find me doing one of these during September through October. It is my favorite holiday movie and every year I always try to create a new NBC themed dessert to share with everyone.
The truly exciting part for me this year is that I now have a section on the blog dedicated to creating and sharing tutorials for you! Normally this has been shared through snippets of my videos on Instagram or YouTube, but those definitely lacked the details and thorough step by step instructions for someone to follow. My hope is this creative section of the blog bridges that gap.
I am so excited to share this Nightmare Before Christmas dessert tutorial with you, so let's get started!
Jump to:
Tips For Spooky Success
There are some recommendations I suggest before proceeding into this tutorial, so please read through to ensure you feel you are capable and ready to tackle!
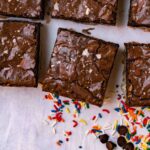
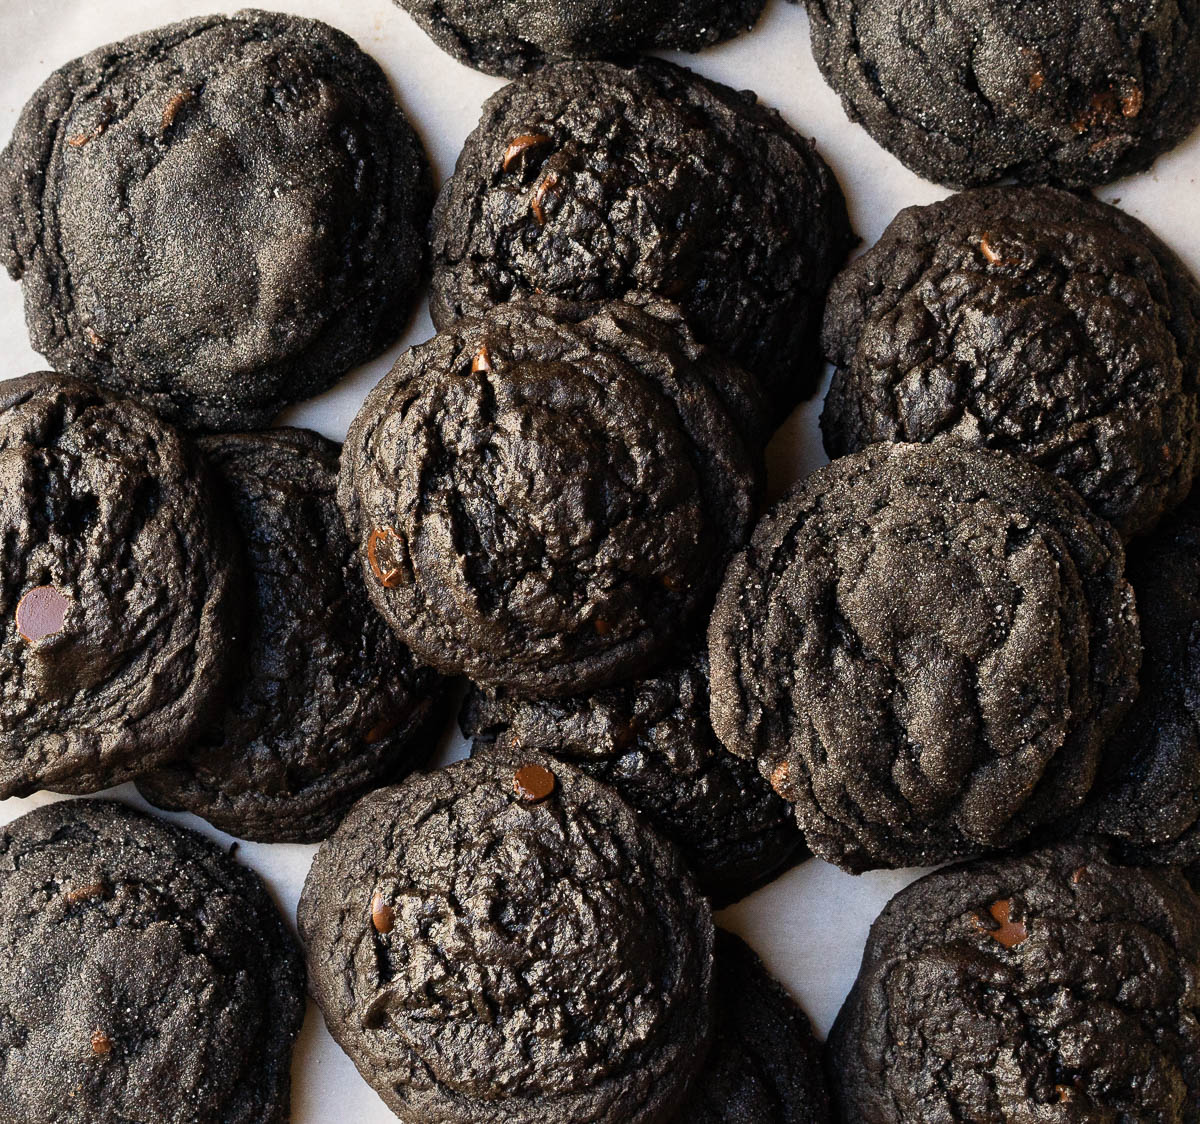
Have The Cookie Bars Ready. This tutorial uses my Double Chocolate Cookie Bars but you can use any cookie bar recipe, cake recipe, etc. Just ensure that the surface you are decorating is level.
Prepare Buttercream In Advance. This is to help the black buttercream color develop without adding too much black food gel (over saturating). I recommend using Buttermilk By Sam Black Cocoa Buttercream, or Sugar And Sparrow's - I have tried both and they are both delicious! You will need to make about 3 to 4 cups of frosting - these recipes as they are shared should be enough. You can make ahead of time and keep in an airtight container overnight.
Set Aside Time. This Jack Skellington dessert project isn't done in 10 minutes, but will take about 1 hour to complete from first laying down the buttercream layer to completing final details. You can easily make ahead of time and keep in the refrigerator so you aren't rushing to make the same day it is needed.
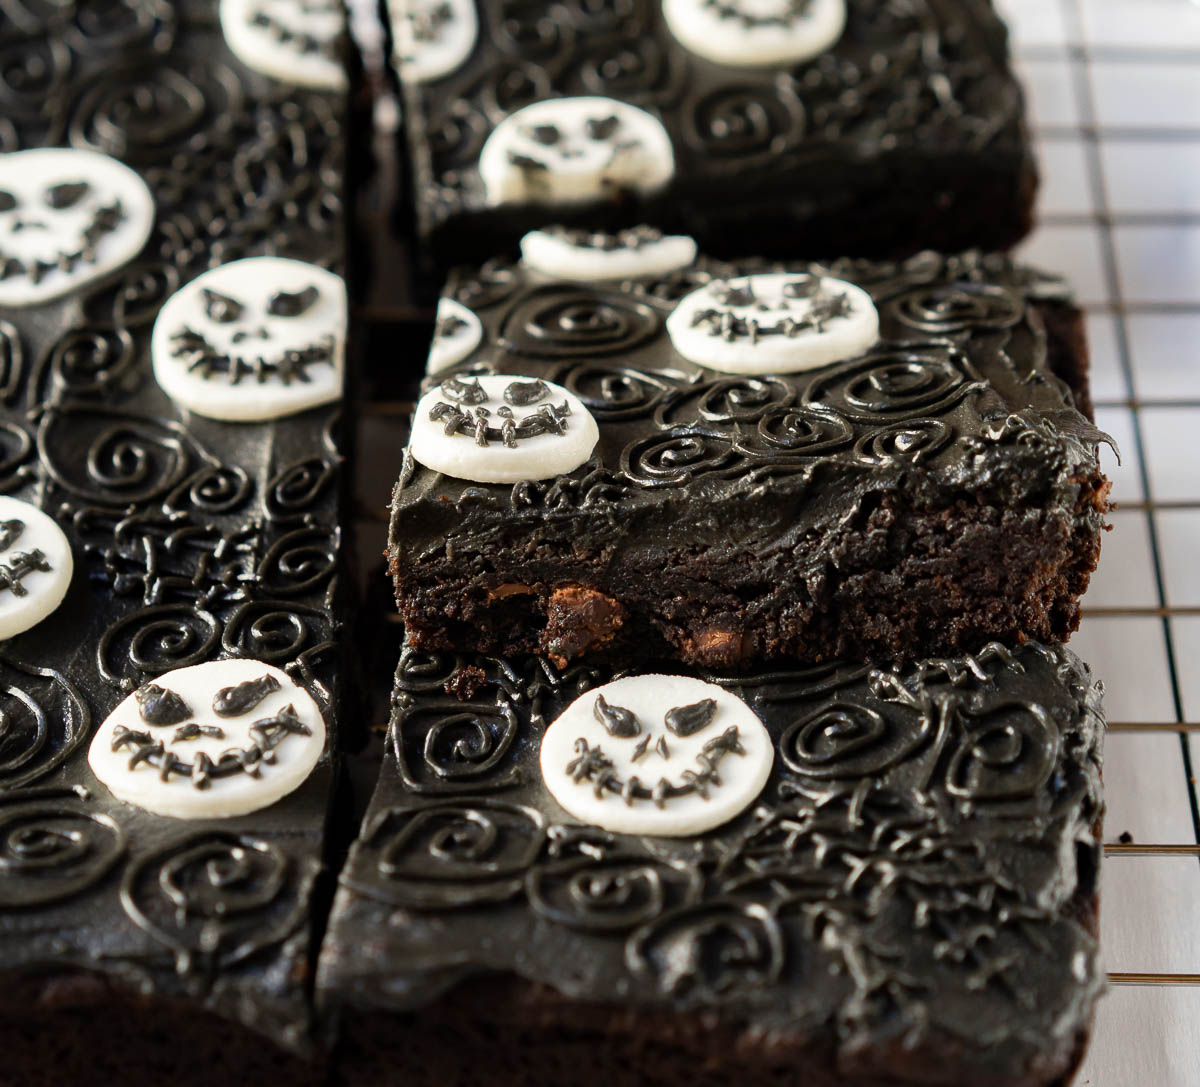
Tools To Create Your Nightmare Before Christmas Dessert
The tutorial is created to share how to recreate this dessert in your own home to share with family and friends. This is not intended to be used for resale purposes.
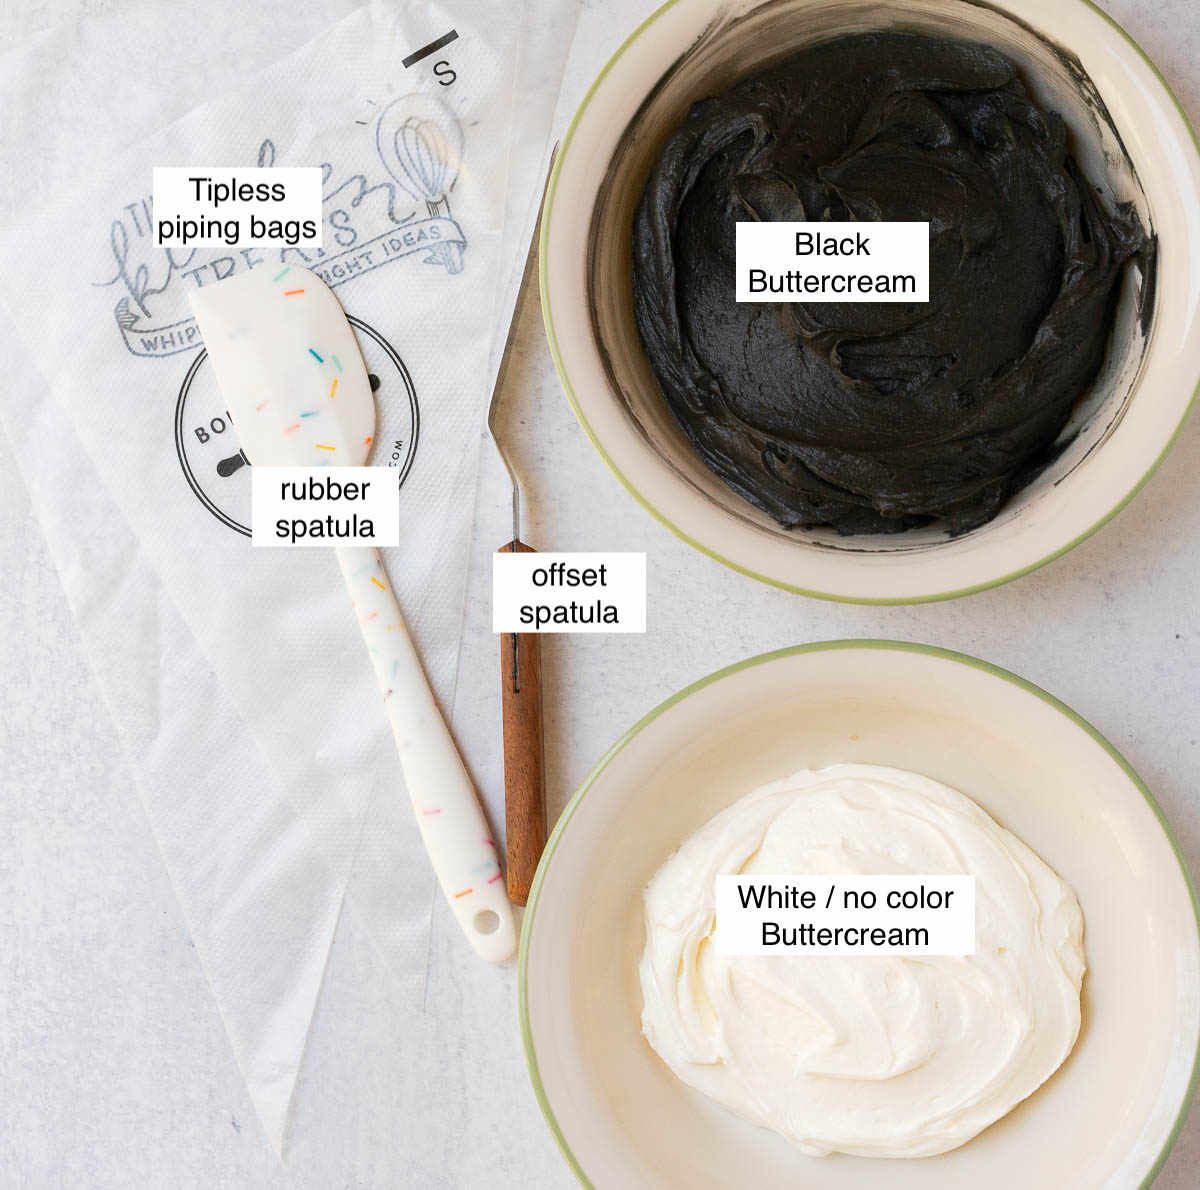
You Will Need:
- Double Chocolate Cookie Bars (or other preferred recipe)
- Buttercream Recipe - about 3 to 4 cups (see Tips For Spooky Success for recommendations)*
- Black Food Gel coloring (white optional)
- Offset spatula
- Tipless Piping Bags
- Rubber spatula
- Measuring Cup or other flat bottom item
- Scissors
- Paper Towels
- Parchment Paper
- Baking Tray
*You will use ~½ cup for white frosting, 1 cup black frosting for details, and 2-3 cups black frosting to frost/cover the cookie bar.
Let's Make A Nightmare Before Christmas Dessert
This Jack Skellington dessert tutorial is created to share how to recreate this dessert in your own home to share with family and friends. This is not intended to be used for resale purposes.

Step 1: Prepare your Double Chocolate Cookie Bars. Allow to cool and set aside.
Step 2: Prepare your buttercream per the instructions of the recipe. Make sure to make without color/cocoa, remove ⅛ of the non colored icing before proceeding with coloring icing black or adding cocoa to deepen color.
Step 3: Place all the white buttercream frosting in a tipless piping bag, and place about 1 cup of black buttercream frosting in a tipless piping bag. Set aside.
Step 4: Place a piece of parchment on a baking sheet, and have another ready close by along with a measuring cup or flat bottomed cup.
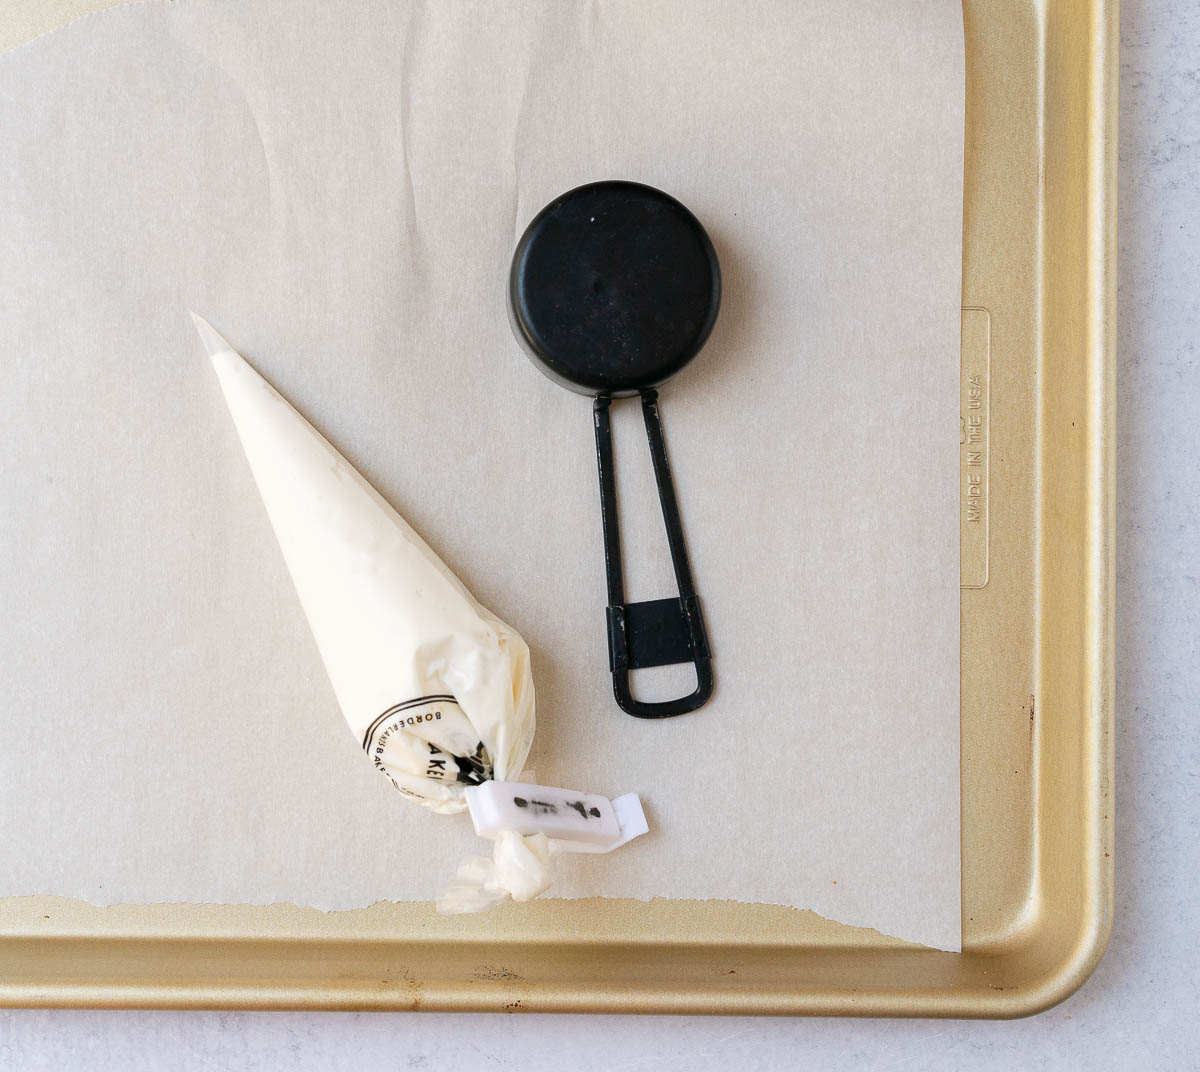
Step 5: Use the scissors to cut the piping tip of the bag with white frosting - you will only need to cut about ¼" to ½".
Step 6: Hold in place about ½" above the parchment paper. Squeeze the piping bag from the top with your dominate hand while using a fingertip to gently keep the bottom in place. Squeeze gently until you have a dollop of frosting on the parchment paper about 1" wide and ½" tall. Repeat.
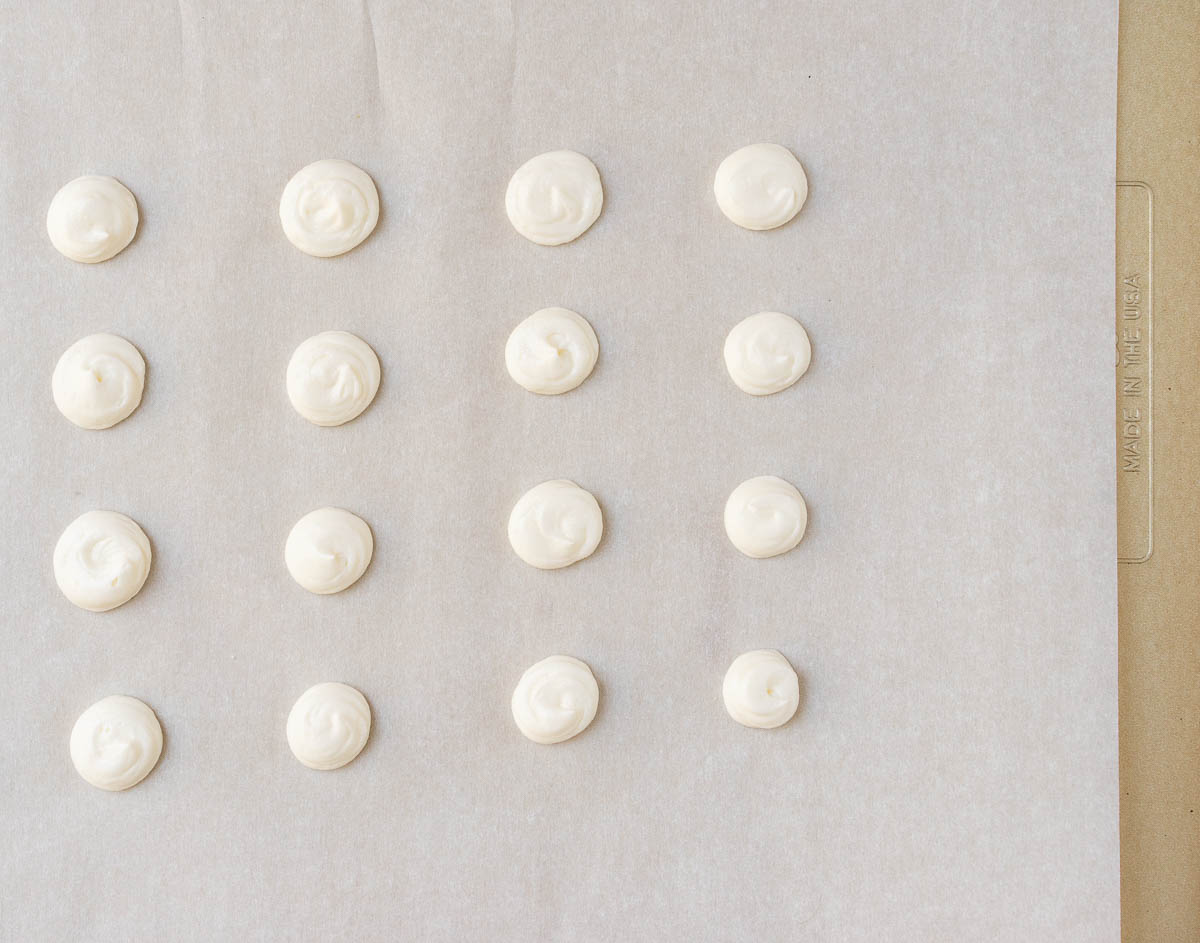
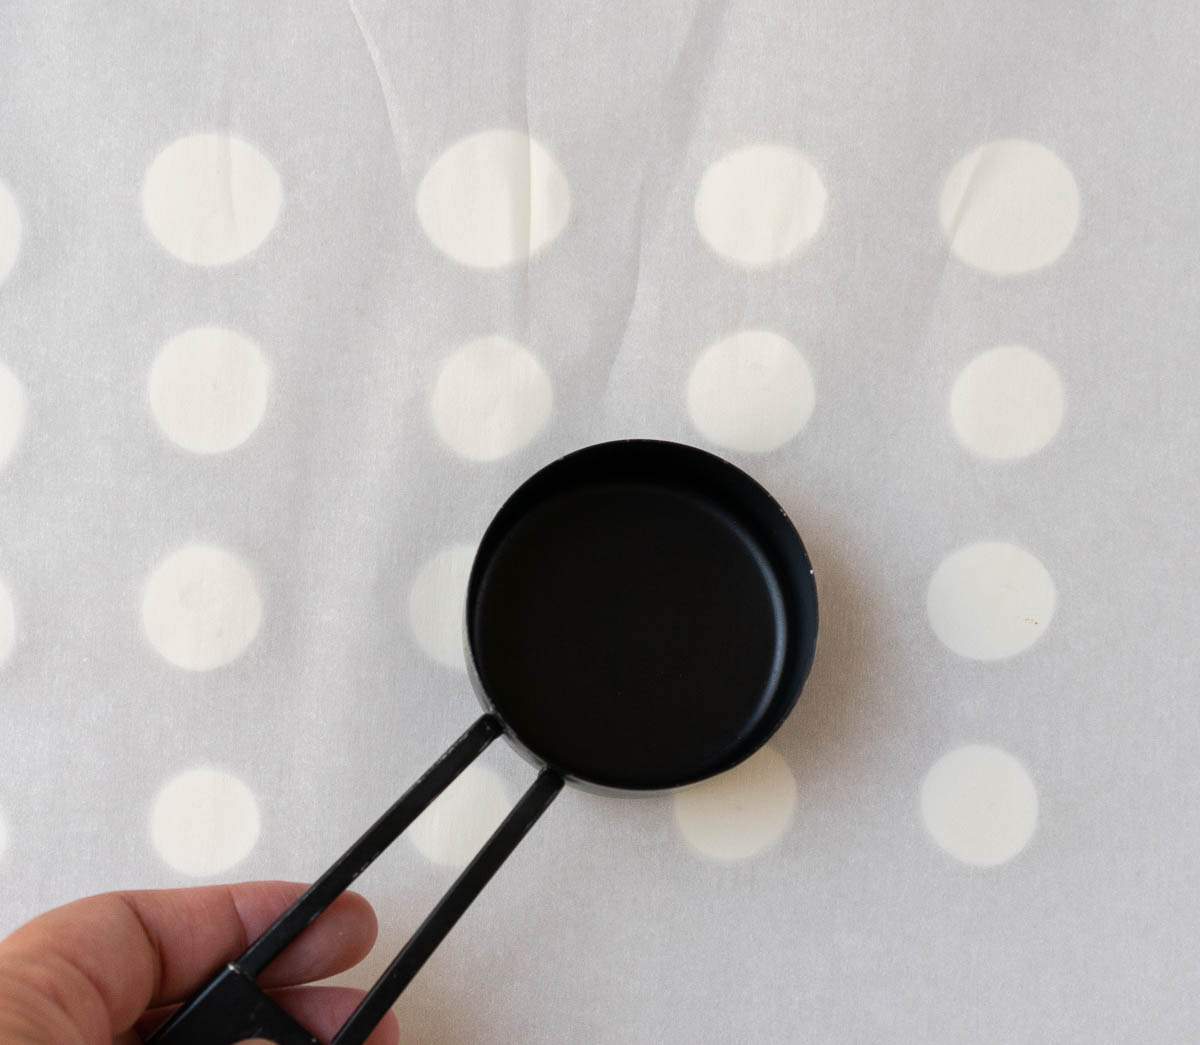
Step 7: When finished place the 2nd sheet of parchment gently over the dollops but to not press down. Use the measuring cup to gently and evenly flatten the dollops of icing. Do not smash down all the way, you are only looking to lighten flatten the dollop.
Step 8: Place the baking sheet with the white dollops in the refrigerator while we move on to the next step.
Step 9: We now move on to frosting the cookie bars. Place the remaining black buttercream onto the cookie bar and use your offset spatula to help spread it evenly across.
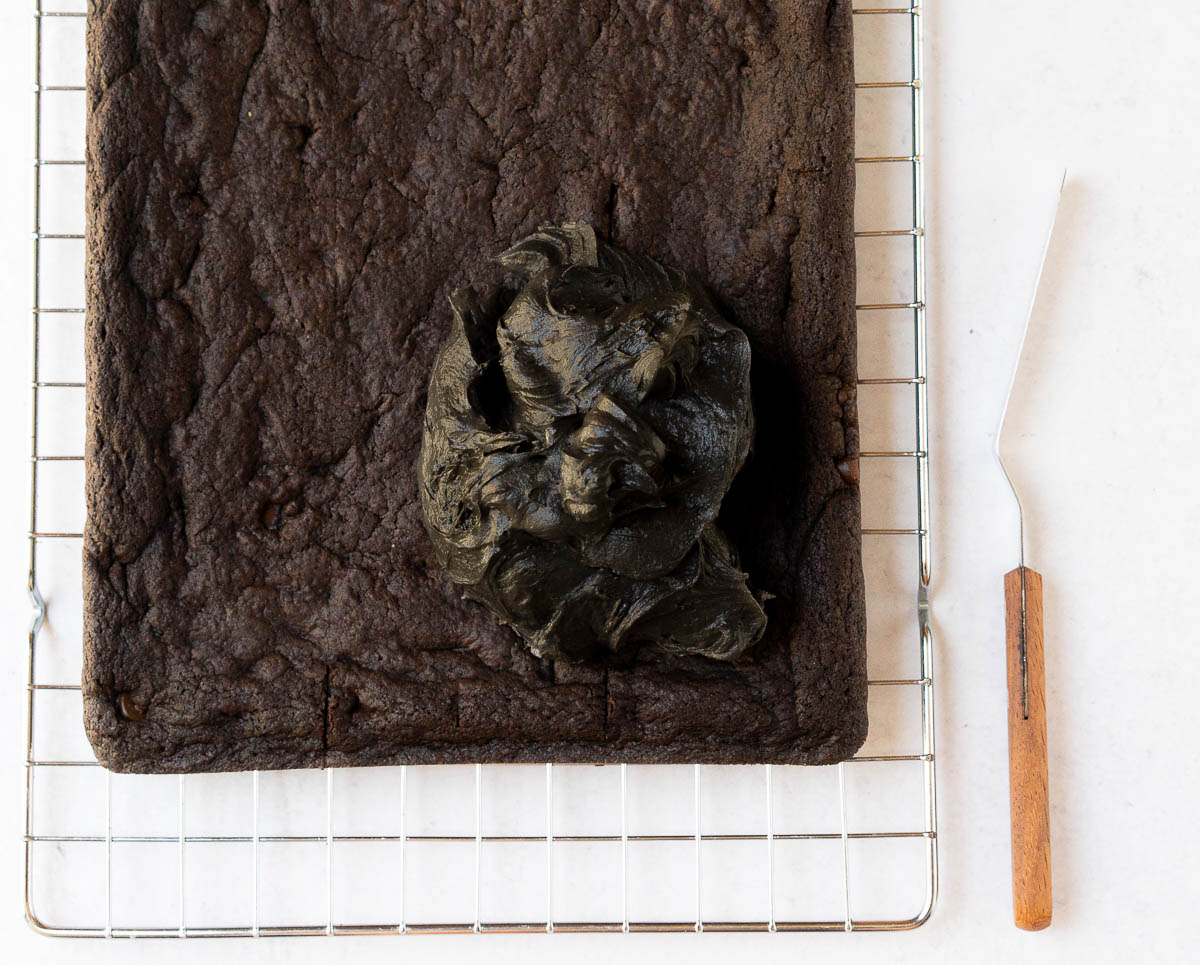
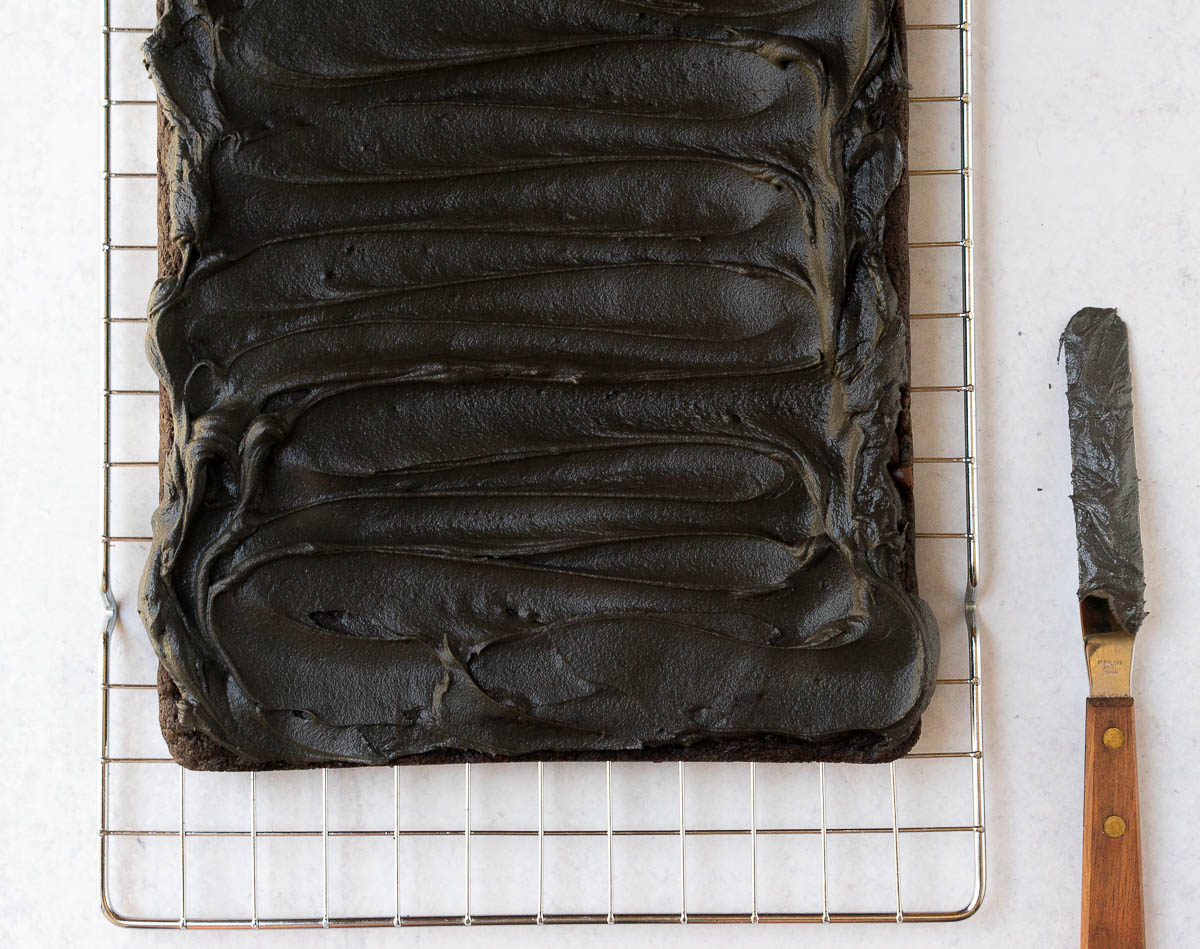
Step 10: Clean the offset spatula, and remove the white dollops from the refrigerator. Make sure you have allowed at least 20 to 30 minutes to pass so they are firm.
Step 11: Remove the top piece of parchment carefully, and then use your offset spatula to gently slide under the first dollop. Be gentle to not break it. It should slide under easily if cold enough. If it breaks easily then place back into the refrigerator for another 15 minutes and try again.
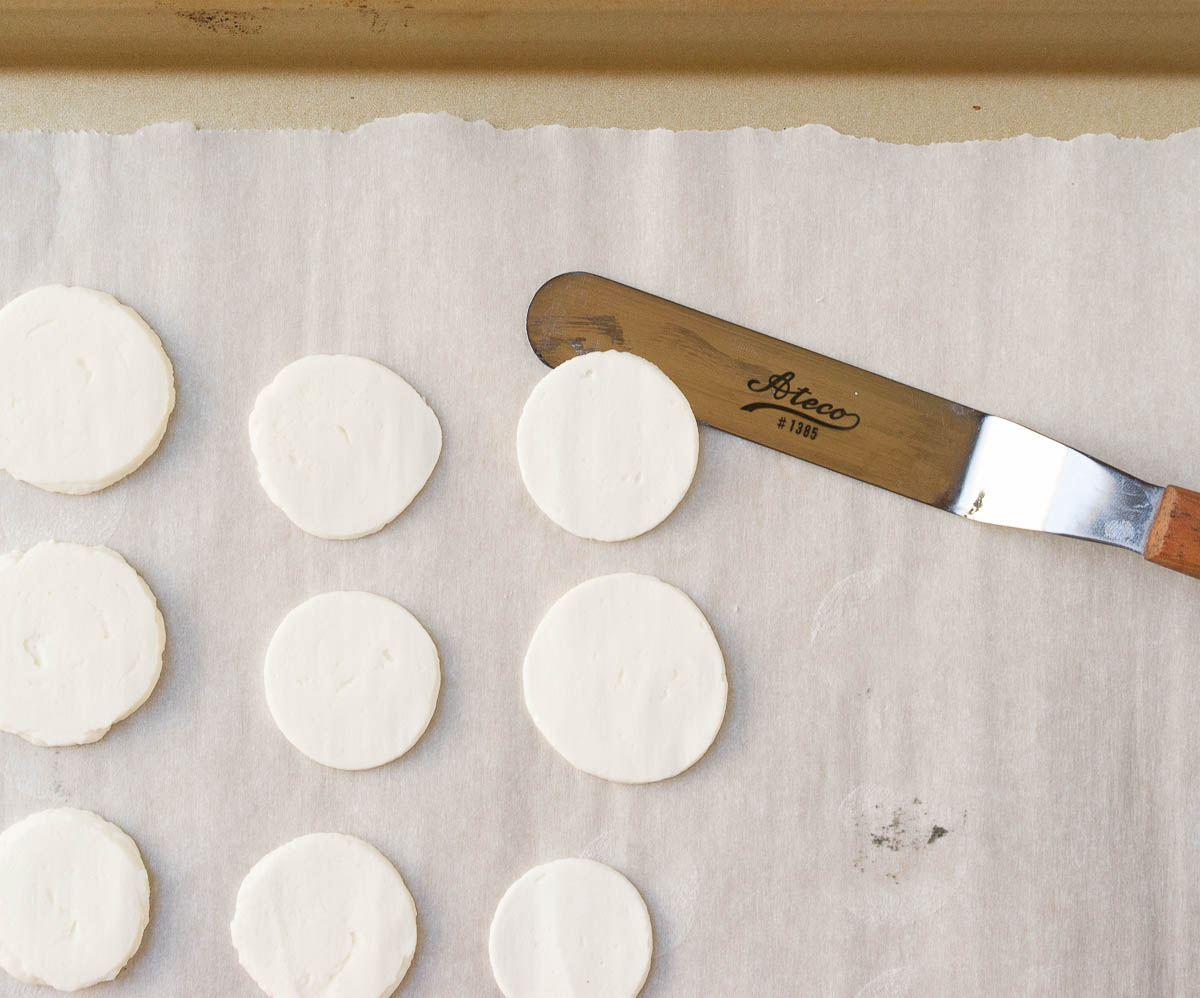
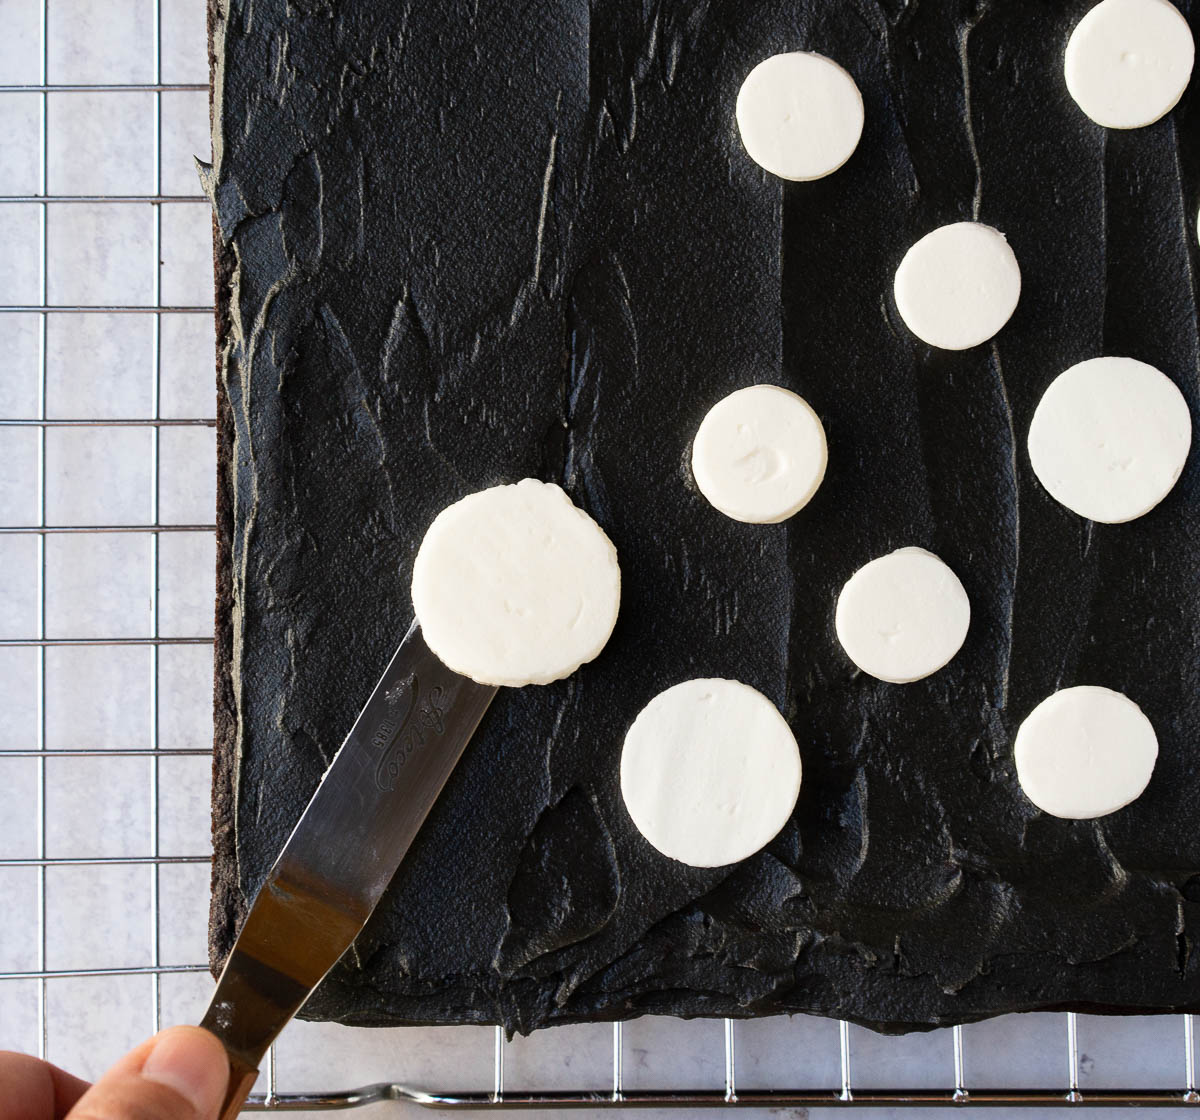
Step 12: After you have successfully lifted the white dollop than place on top of the cookie bar. Repeat and add them as little or as many as you'd like to the cookie bar.
Step 13: Once you have placed all your white dollops scattered on the cookie bar it is time to begin decorating them with Jack's face! Take your black buttercream in the piping bag and cut a small hole at the tip - about ⅛" or smaller. You are going for small details so you need a small opening. You can also opt to use a Wiltons tip #1 or #2.
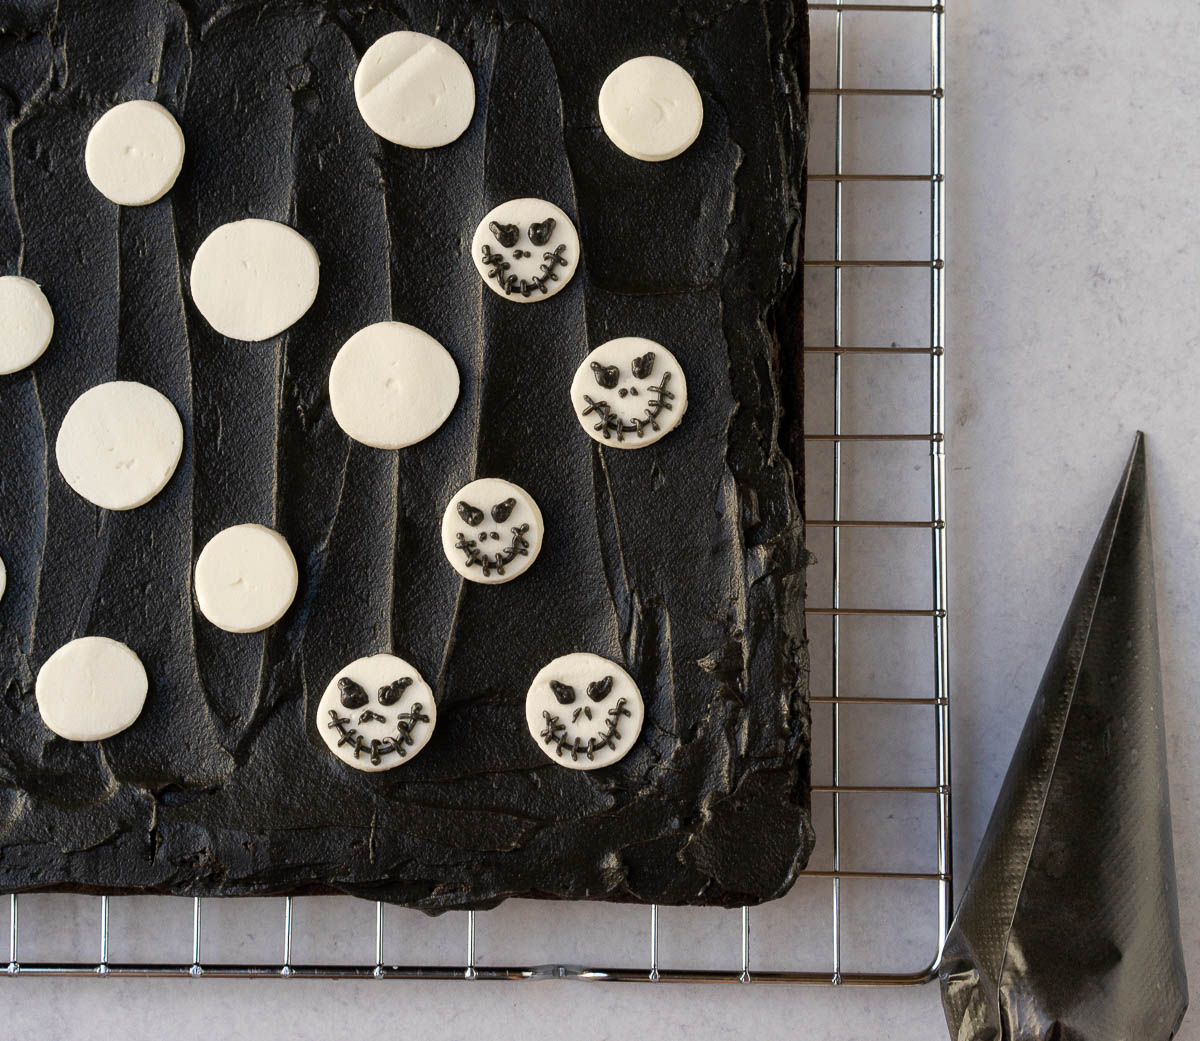
Step 13: You will hold the piping bag with your dominant hand, and use your other hand to help guide the bag. Gently squeeze and begin with placement of the eyes, followed by the mouth finishing with the nostrils. Repeat until all white dollops are decorated.
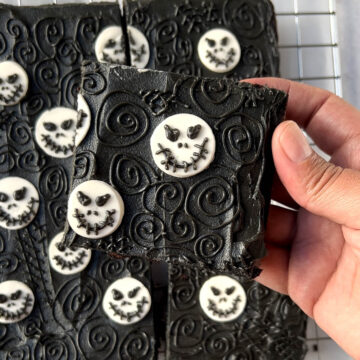
Step 14: Optional! If you'd like to add detail to the parts of the cookie bar not covered with Jack then you can! I opted to add swirls, lines and stitches randomly.
Troubleshooting
If you are finding this tutorial a bit challenging, I hope these tips can help you achieve success in making an amazing Jack dessert!
Frosting Not Dark Enough. I recommend preparing your black frosting the night before, but if you are on a time crunch you can take about a spoonful of frosting and microwave ONLY the spoonful for a few seconds. Remove from refrigerator and it will have darkened in color. Mix back into the frosting and it will help to darken the entire batch. Word of caution: naturally warm frosting will mess with the consistency of the whole batch of frosting so if you do this refrigerate the whole frosting after mixing it back in to allow it come back to a cooler temperature.
White Dollops Keep Breaking. This could be because the dollops were flattened TOO thinly, or because they are not cold enough. Try placing the baking tray in the freezer to allow to set for at least another 10 minutes. Remove and try again. If they are too thin and keep breaking you can opt to pipe directly onto the frosting cookie bar, and then cut a small piece of parchment to lay over, and flatten from there. Refrigerate when all completed and then you will only need to lift off the parchment and you are ready!
More Halloween Inspired Desserts
Nightmare Before Christmas Dessert Tutorial
Ingredients
- Double Chocolate Cookie Bars ready to go
- Buttercream Recipe
- black food gel coloring
- small offset spatula
- tipless piping bags
- rubber spatula
- measuring cups or flat bottom item
- scissors
- paper towels
- parchment paper
- baking tray
Instructions
- Prepare your Double Chocolate Cookie Bars. Allow to cool and set aside.
- Prepare your buttercream per the instructions of the recipe. Make sure to make without color/cocoa, remove ⅛ of the non colored icing before proceeding with coloring icing black or adding cocoa to deepen color.
- Place all the white buttercream frosting in a tipless piping bag, and place about 1 cup of black buttercream frosting in a tipless piping bag. Set aside.
- Place a piece of parchment on a baking sheet, and have another ready close by. along with a measuring cup or flat bottomed cup.
- Use the scissors to cut the piping tip of the bag with white frosting - you will only need to cut about ¼" to ½".
- Hold in place about ½" above the parchment paper. Squeeze the piping bag from the top with your dominate hand while using a fingertip to gently keep the bottom in place. Squeeze gently until you have a dollop of frosting on the parchment paper about 1" wide and ½" tall. Repeat.
- When finished place the 2nd sheet of parchment gently over the dollops but to not press down. Use the measuring cup to gently and evenly flatten the dollops of icing. Do not smash down all the way, you are only looking to lighten flatten the dollop.
- Place the baking sheet with the white dollops in the refrigerator while we move on to the next step.
- We now move on to frosting the cookie bars. Place the remaining black buttercream onto the cookie bar and use your offset spatula to help spread it evenly across.
- Clean the offset spatula, and remove the white dollops from the refrigerator. Make sure you have allowed at least 20 to 30 minutes to pass so they are firm.
- Remove the top piece of parchment carefully, and then use your offset spatula to gently slide under the first dollop. Be gentle to not break it. It should slide under easily if cold enough. If it breaks easily then place back into the refrigerator for another 15 minutes and try again.
- After you have successfully lifted the white dollop than place on top of the cookie bar. Repeat and add them as little or as many as you'd like to the cookie bar.
- Once you have placed all your white dollops scattered on the cookie bar it is time to begin decorating them with Jack's face! Take your black buttercream in the piping bag and cut a small hole at the tip - about ⅛" or smaller. You are going for small details so you need a small opening. You can also opt to use a Wiltons tip #1 or #2.
- You will hold the piping bag with your dominant hand, and use your other hand to help guide the bag. Gently squeeze and begin with placement of the eyes, followed by the mouth finishing with the nostrils. Repeat until all white dollops are decorated.
- Optional! If you'd like to add detail to the parts of the cookie bar not covered with Jack then you can! I opted to add swirls, lines and stitches randomly.






Leave a Reply